Imagine holding a lump of cool, smooth clay, envisioning a graceful vase or a delicate bowl taking shape beneath your fingers. You begin to work, but the clay resists, cracks form as it dries, or the glaze doesn’t turn out as you’d hoped. This journey from vision to finished piece is both deeply rewarding and technically demanding. For those drawn to the beauty and tradition of working with specific ceramic bodies, understanding the material is the first, most crucial step toward success. This guide focuses on the practical process of creating with this elegant clay, providing a clear, step-by-path to bring your ceramic ideas to life.
Understanding the Nature of the Material
Before your hands touch the clay, understanding its properties sets you up for success. This specific type of ceramic body is formulated for its workability and final characteristics. It is generally considered a stoneware or porcelain blend, known for its smooth texture and good plasticity. This makes it a favorite for both wheel-throwing and hand-building projects where a fine, detailed finish is desired. Its heritage is often linked to traditions that value pure white or lightly tinted finishes, providing an excellent canvas for detailed decoration like the iconic floral motif.
Choosing the Right Clay Body
Not all variations are identical. Your project type dictates the best choice.
For wheel-throwing, select a clay marketed as a “throwing” or “potter’s” body. This version typically has finer grog (granular material) or none at all, offering superior smoothness for centering and pulling even walls. It responds well to the wheel’s speed and pressure.
For hand-building, sculpture, or larger slab work, a slightly grogged “sculpture” or “hand-building” body is preferable. The fine grog provides internal strength, reduces warping during drying, and supports larger forms. It maintains the signature smooth surface for carving or painting.
Preparing Your Clay for Success
Proper clay preparation is non-negotiable. It prevents catastrophic failures later.
Step系统
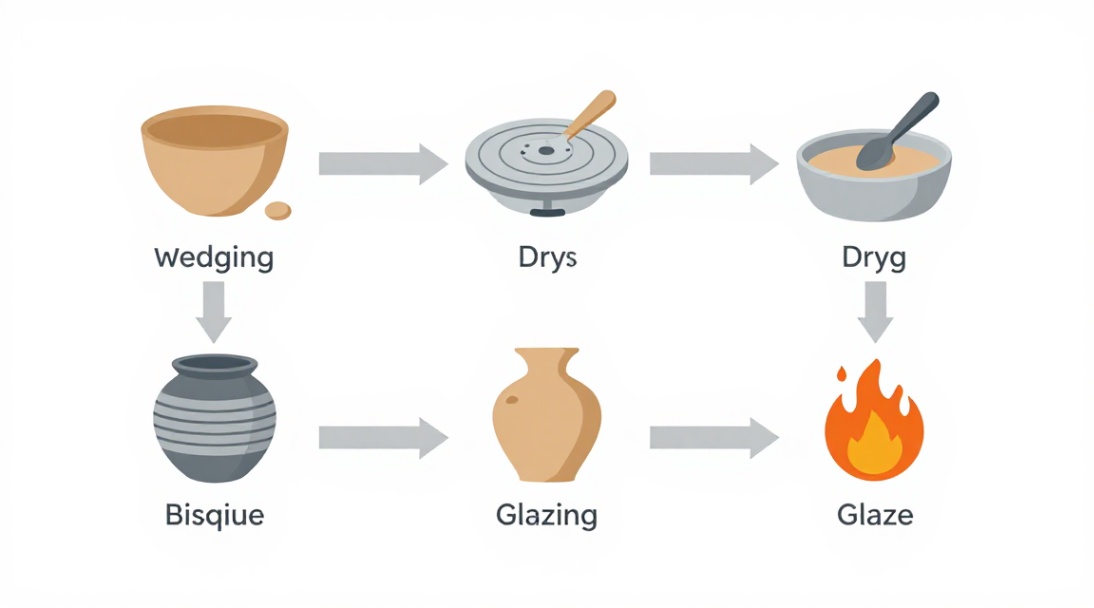
Whether from a fresh bag or recycled, always wedge your material thoroughly. This process kneads the clay to achieve a uniform moisture content and, critically, removes air pockets. Trapped air expands during firing, causing blowouts. Use a spiral wedging technique on a plaster bat, working until the clay feels homogenous and shows no cracks or air lines when sliced.
Step 2: Forming a Workable Mass
After wedging, shape the clay into a smooth, round ball or a tight cylinder. This optimized form makes centering on the wheel easier and ensures even compression for hand-building. Cover any clay you aren’t immediately using with plastic to prevent drying.
Mastering Fundamental Techniques
With your clay prepared, focus on the core skills that build the foundation of your piece.
Centering on the Wheel
For wheel work, centering is everything. Apply firm, steady pressure with wet hands, coaxing the clay into a perfect, still cone at the wheel’s center. Uncentered clay will lead to wobbly, uneven walls. Take your time here; rushing leads to frustration.
Pulling Walls
Once centered, open the clay and begin pulling the walls upward. Use consistent pressure from the base, with one hand inside and one outside, guiding the clay upward. Its good plasticity allows for thin, elegant walls if you maintain a steady, confident pull. Keep the clay well-lubricated with water.
Hand-Building Basics
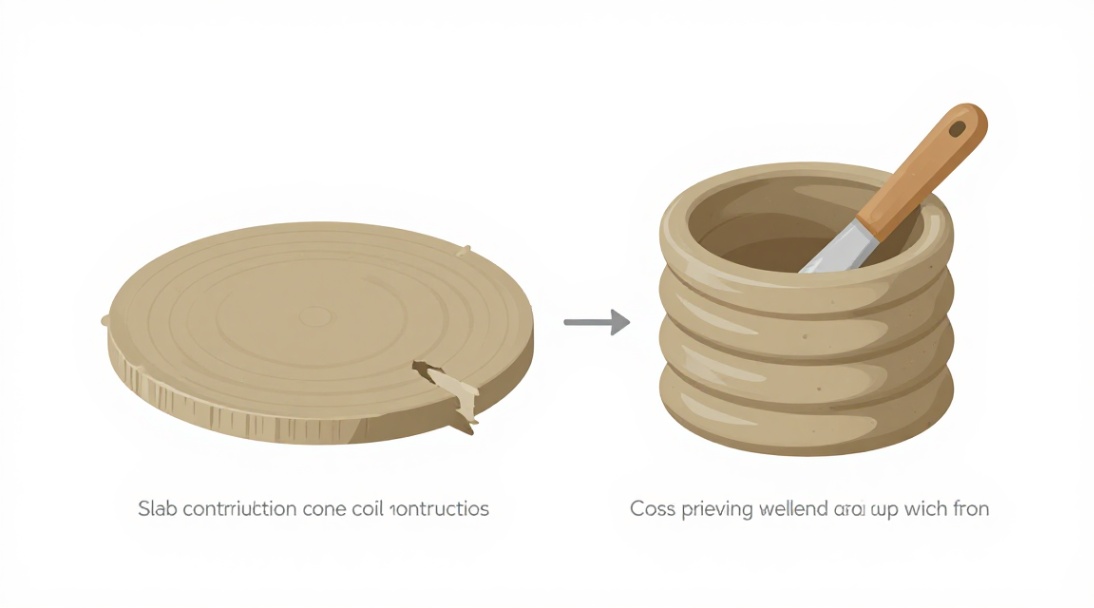
For slab construction, roll sheets to an even thickness using guides. Score and slip joints thoroughly—the dense nature of this clay requires a good bond. For coil building, weld the coils together firmly from the inside to blend seams and strengthen the form.
The Drying and Bisque Firing Process
Drying is a slow, patient dance. Rushing causes cracks and warps.
Dry your ceramic piece slowly and evenly. First, let it stiffen to leather-hard under loose plastic. Then, uncover it and allow it to dry completely to bone-dry state, away from direct heat or drafts. This can take several days for thicker pieces. A fully dry piece will feel room temperature and sound slightly hollow when tapped gently.
The Bisque Firing Schedule
Bisque firing prepares the clay for glazing. For this body, a slow bisque firing to Cone 04 (approx. 1945°F / 1063°C) is standard. Program your kiln with a slow ramp (150-200°F per hour) through the quartz inversion point (around 1060°F) to prevent thermal shock. A slow cool is also beneficial. This results in a porous, strong “biscuit” ware ready to absorb glaze.
Glazing and Final Firing
Glazing transforms the bisqueware. Your choices here define the final character.
Selecting Compatible Glazes
The light body color of this clay makes it versatile. Clear glazes showcase its purity, while celadons and translucent glazes offer subtle depth. For bold color, test glazes on a sample tile first. Underglaze decoration, perfect for detailed floral designs, should be applied before a transparent glaze. Always check the glaze’s recommended firing range matches your clay body’s maturity.
Applying the Glaze
Ensure your bisqueware is clean and dust-free. Apply glaze evenly by dipping, pouring, or spraying. Two to three thin coats are better than one thick coat, which can crawl or pinhole. Let the glaze dry completely before handling.
The Glaze Firing
The final firing vitrifies the clay and melts the glaze. For most bodies of this type, a glaze firing to Cone 6 (2232°F) or Cone 10 (2345°F) is typical—always follow your specific clay’s instructions. Use a standard oxidation atmosphere unless creating reduction effects. A medium-speed firing cycle is usually sufficient after the careful bisque. Witness the transformation as the kiln cools.
Troubleshooting Common Issues
Problems happen. Here’s how to diagnose and fix them next time.
- Cracking during drying: Usually from uneven drying. Dry slower, and keep pieces covered longer. Compress seams better in hand-building.
- Warping: Often caused by slabs or bases drying faster than walls. Dry pieces uniformly under plastic.
- Glaze crawling: Dust or grease on the bisque, or too thick an application. Clean ware thoroughly and apply thinner coats.
- Pinholes: Gases escaping during glaze melt. Try a slower firing ramp or a soak at the top temperature to allow bubbles to heal.
Expanding Your Ceramics Practice
Once you’re comfortable with the basics, explore further. Consider carving intricate relief patterns into the leather-hard clay. Experiment with inlay techniques using colored slips. Try making a set of nested forms or a composite sculpture from multiple thrown sections. The clean finish of fired material also makes it an ideal candidate for overglaze luster or china paints for exquisite detail.
Your Ceramics Workflow at a Glance
Here is the complete process summarized: 1) Select clay suited to your technique. 2) Wedge thoroughly to de-air. 3) Center and form carefully. 4) Dry slowly and evenly to bone-dry. 5) Bisque fire slowly to Cone 04. 6) Apply compatible glazes evenly. 7) Glaze fire to the clay’s maturity cone. 8) Cool, inspect, and enjoy.
This path from raw material to finished object is a practice of patience and attention. Each step builds upon the last. What will be the first form you choose to create with your newfound understanding of the process? For resources and materials that support this elegant craft, the team at CATSWING offers a dedicated collection.


发表回复
要发表评论,您必须先登录。